
Beginner’s Guide to Worm Farming: How to Start Your First Vermicomposting Bin
An Informational Guide to Worm Farming for Beginners
Food waste and yard trimmings make up over twenty-seven percent of municipal solid waste according to the Environmental Protection Agency. Vermicomposting offers a highly efficient way to divert this trash right at home. Starting a system of worm farming for beginners allows you to convert kitchen scraps into nutrient-rich soil conditioners within weeks.
This eco-friendly practice requires minimal space and financial investment, making it perfect for apartments and suburban homes alike. By setting up a managed ecosystem, you can significantly reduce your household carbon footprint while producing premium organic fertilizer for your plants.
Selecting the Best Worm Species for Worm Farming for Beginners
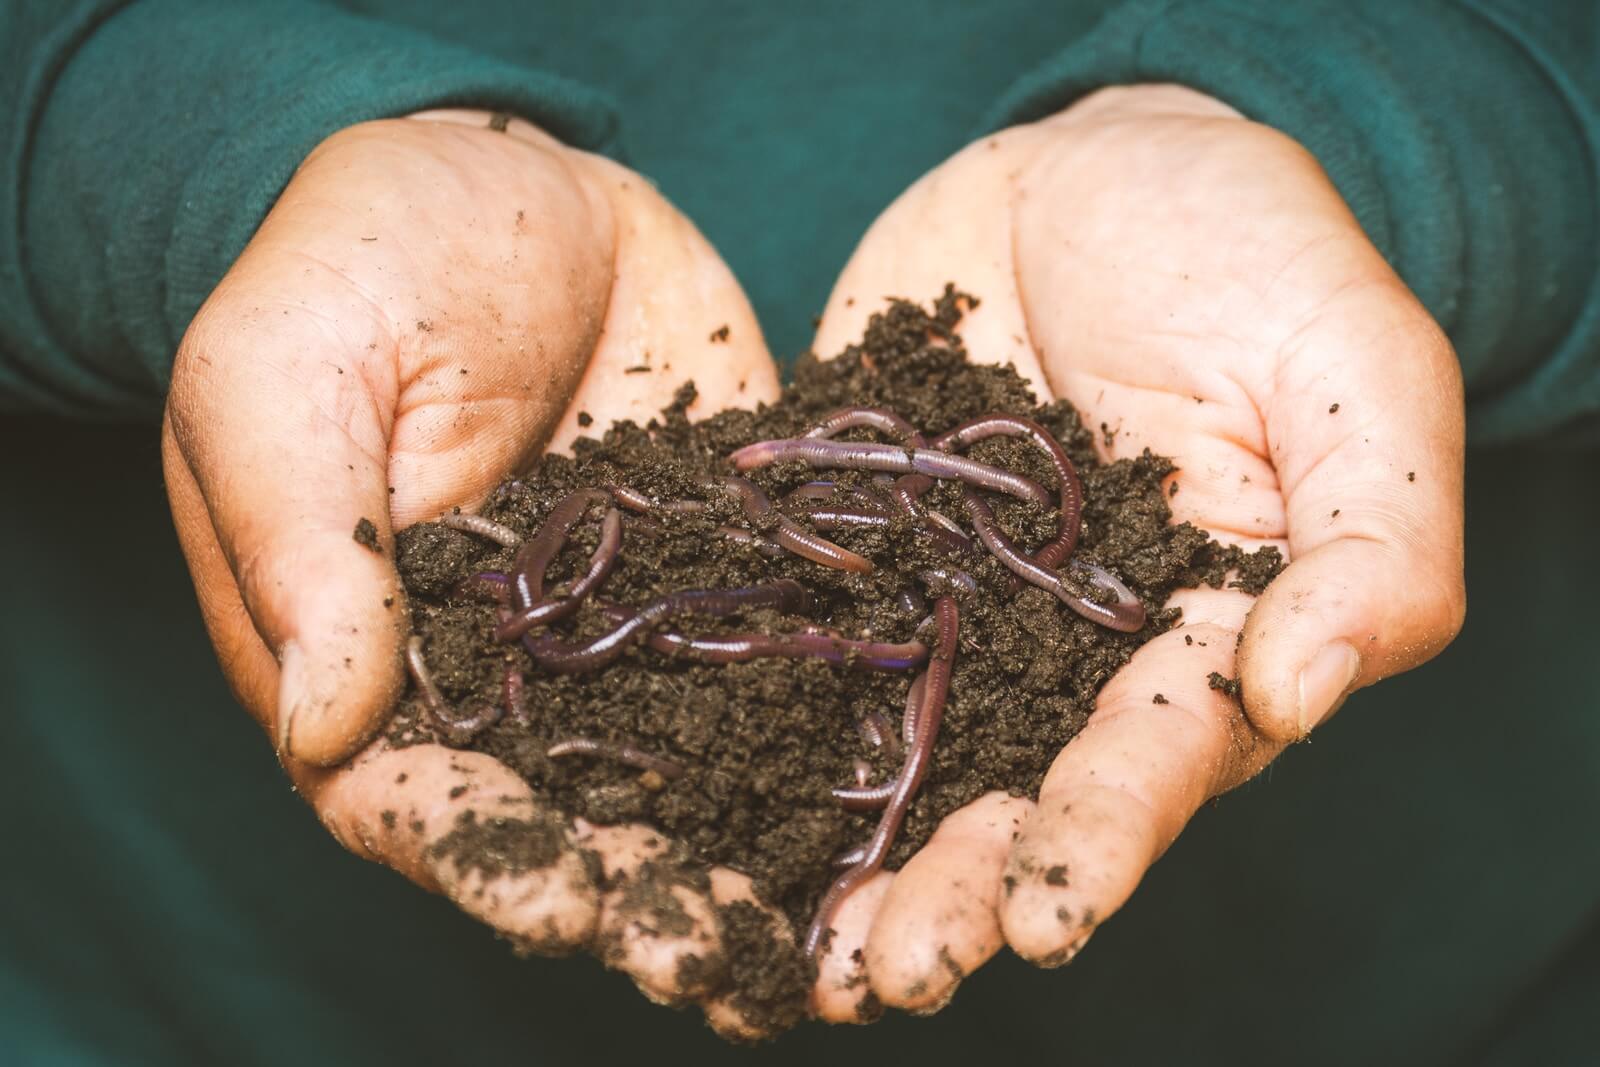
Not all earthworms are suitable for a home vermicomposting system. Standard garden earthworms or nightcrawlers require deep soil to burrow and will not survive in the shallow environment of a compost bin. The most efficient decomposers are red wigglers, scientifically known as Eisenia fetida.
These specific composting worms thrive in shallow, high-organic-matter environments. They can consume up to half of their body weight in organic waste daily under ideal conditions. This high rate of consumption speeds up the breakdown of organic matter compared to other species.
Step-by-Step Setup for Worm Farming for Beginners
Establishing a healthy environment requires a methodical setup process, which is a key milestone in worm farming for beginners. Begin by preparing the bedding material so that it reaches a moisture level resembling a damp, wrung-out sponge. Fill the bin around three-quarters full with this prepared bedding to allow ample room for worm movement.
Scatter a handful of garden soil or finished compost into the bedding. This addition introduces necessary grit to assist the digestive systems of the red wigglers, alongside beneficial microbes. The microbes work in tandem with the worms to break down organic matter more rapidly.
- Moisten the shredded bedding until it is damp but not dripping wet.
- Place the bedding into the bin and add a handful of soil for digestive grit.
- Introduce your composting worms gently onto the surface of the bedding.
- Leave the lid off under a bright light for the first twenty-four hours to encourage the worms to burrow deep.
Feeding and Maintenance Rules in Worm Farming for Beginners
Maintaining a balanced diet for your ecosystem prevents unpleasant odors and pest infestations. Worms digest organic material best when it is chopped into small pieces. Burying the food waste beneath the bedding is a vital practice when mastering worm farming for beginners, as it keeps fruit flies away and ensures efficient decomposition.
Overfeeding is the most common mistake made during early stages of the process. A good guideline is to feed the population once a week, waiting until the previous feeding is nearly gone. This practice keeps the bin from becoming acidic and sour.
| Recommended Food Items | Items to Avoid Completely |
|---|---|
| Fruit scraps, vegetable peelings, and coffee grounds | Citrus fruits, onions, and garlic |
| Crushed eggshells and paper tea bags (staple-free) | Meat, dairy, and oily or greasy foods |
| Shredded plain paper and cardboard | Glossy paper, plastics, and dog or cat waste |
Troubleshooting Parameters for Worm Farming for Beginners
An odor-free bin is the hallmark of a healthy vermicomposting system. If the bin begins to smell like rotting garbage, the environment has become anaerobic. This issue typically stems from overfeeding or excessive moisture blocking airflow within the container.
To resolve a wet and smelly bin, stop feeding immediately and mix in dry shredded cardboard. Keep the lid slightly ajar to increase air circulation and quicken evaporation. This adjustment re-establishes the aerobic environment necessary for the worms to thrive.
Composting worms thrive within a specific temperature range of fifty-five to seventy-seven degrees Fahrenheit. Extreme temperatures can cause the worms to become sluggish or perish. You should place the bin in a temperature-controlled area like a basement, closet, or shaded balcony.
Moisture levels must remain between sixty and eighty percent to help them breathe through their skin. If the environment becomes too dry, the worms cannot breathe. You can test this by squeezing a handful of bedding; only a few drops of water should escape.
Harvesting Castings: Worm Farming for Beginners
After three to six months, the bedding will transform into dark, crumbly worm castings. These castings represent a premium organic fertilizer rich in nitrogen, phosphorus, and potassium. Seeing the conversion of waste into black gold makes worm farming for beginners incredibly satisfying.
You can harvest this resource by migrating the worms to one side of the bin. Place fresh food exclusively on the opposite side of the bin for two weeks. The population will migrate toward the food, leaving the finished castings free of worms and ready for harvest.
This method minimizes stress on the worm population.
Embracing these green habits shows that worm farming for beginners is an excellent step toward eco-friendly living.
Success relies on maintaining moisture levels, choosing red wigglers, and avoiding overfeeding. This natural decomposition cycle dramatically reduces household carbon footprints while enriching garden soils.